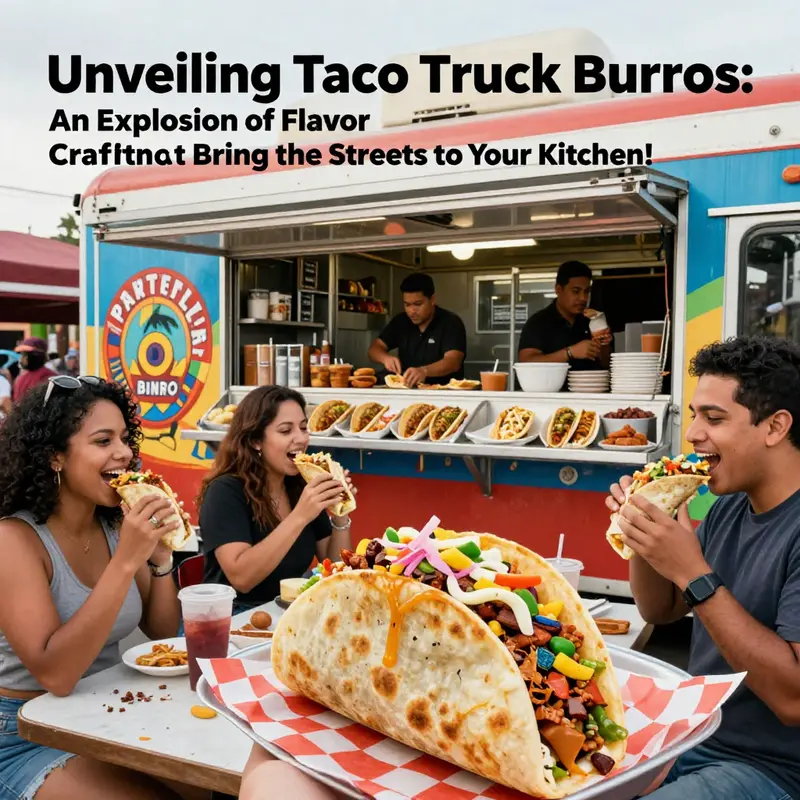
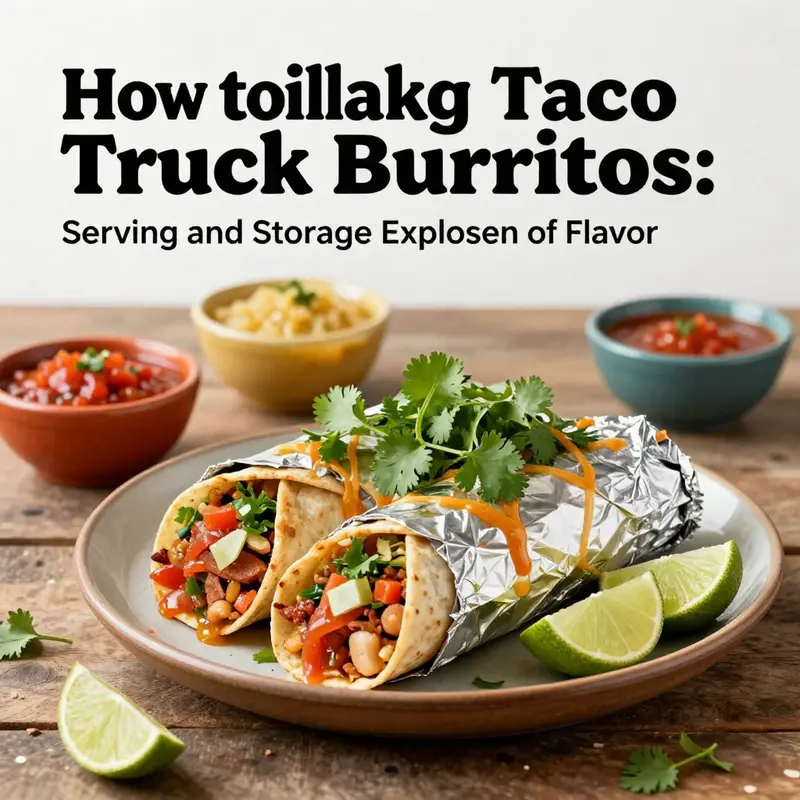
Taco truck burritos are more than just a meal; they embody a vibrant culture and a love for bold flavors. If you’ve ever savored a burrito from a bustling taco truck, you know it’s a mosaic of tastes wrapped in a warm tortilla, each bite bursting with freshness and authenticity. This guide will take you on a flavorful journey, revealing essential ingredients, expert assembly techniques, and tips for achieving that perfect crispy exterior. Get ready to turn your kitchen into the ultimate taco truck and delight your taste buds with homemade burritos that rival the best street vendors. From precision in preparation to the joy of serving, each chapter offers key insights that promise to elevate your burrito game!
Building Authentic Taco Truck Burrito Flavor: Ingredients, Choices, and Assembly Secrets
Essential Ingredients and the Sensory Logic Behind Them
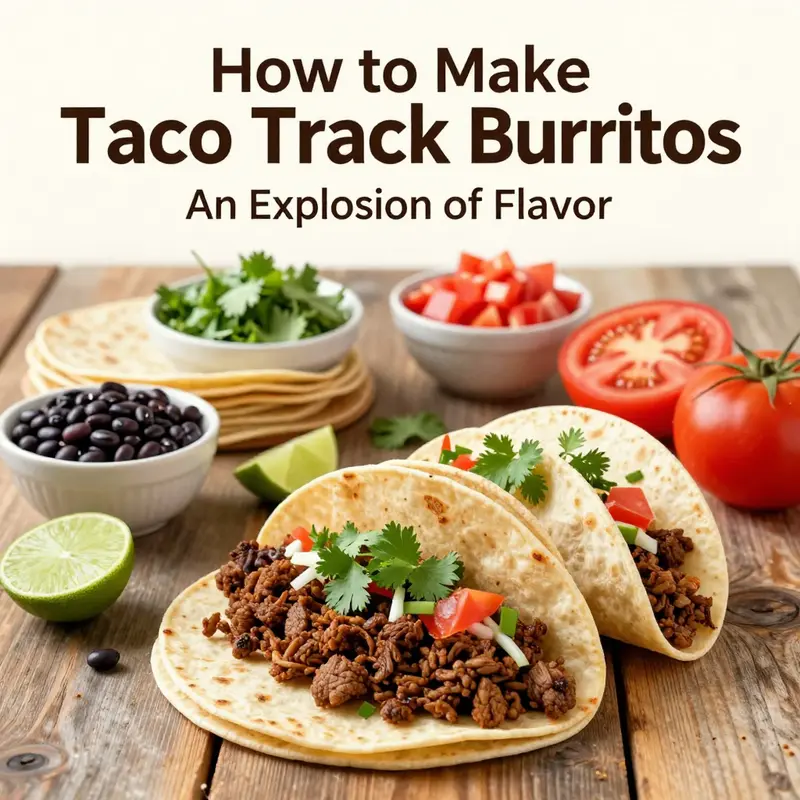
Crafting a taco truck-style burrito starts with an ingredients list that reads like a flavor map. Each item plays a clear role: texture, fat, acid, heat, and binding. When you understand why each component is included, you can make fast, confident substitutions without losing the signature street-food profile. The goal is balanced layers that deliver savory meat, tender beans, bright acid, crunchy vegetables, creamy relief, and a warm wrapper that holds everything together.
Begin with the protein. A lean, well-browned beef or shredded chicken offers the backbone of flavor. Thinly sliced bottom round or a similarly lean cut sears quickly and develops deep, caramelized notes that mimic street-cart cooking. Searing in a hot skillet builds Maillard complexity, which you then enhance with a homemade seasoning blend. Combine ground cumin, chili powder, garlic powder, onion powder, smoked paprika, and a hint of oregano. Use salt sparingly; the aim is robust seasoning that supports, not overwhelms, the other elements.
Beans contribute heft and authenticity. Pinto beans are the classic choice. Cook them until tender but intact so they add body rather than turning into a paste. Season beans during the final simmer with a bit of the same spice mix used for your meat. This continuity ties the layers together and ensures each bite tastes coherent. Keep beans warm and slightly saucy so they nestle into the filling without making the tortilla soggy.
Rice is the neutral filler that stretches portions and soaks up juices. Choose white or long-grain rice for texture that remains separate, or use brown rice for a nuttier note. Lightly season rice with a pinch of salt and a splash of lime juice to lift its flavor. The rice should be fluffy, not sticky, so it moves predictably inside the burrito.
Acidity is essential. Fresh lime juice brightens the rich, fatty components and cuts through the starches. A squeeze over the assembled fillings just before wrapping adds a lively contrast. Avoid bottled citrus—fresh lime preserves the clean, zesty quality found in authentic street preparation.
Vegetables supply crunch and freshness. Shredded cabbage or crisp iceberg lettuce provides a contrast to warm fillings. Finely diced onion delivers bite, while cilantro adds herbal notes. Tomatoes should be drained of excess juice or used as pico-style, so they do not waterlog the burrito.
Creamy elements—sour cream, Mexican crema, or guacamole—balance heat and salt. They also act as a flavor bridge between the savory meat and the bright vegetables. Think in terms of small dollops rather than blanket spreads; you want cream to punctuate, not dominate.
Tortilla choice shapes the entire experience. Warm, pliable corn tortillas are traditional for many taco-truck styles and offer a pronounced corn flavor that pairs well with bright toppings. However, larger flour tortillas (10–12 inches) give better containment for burritos and are common at many mobile kitchens that serve hearty, hand-held meals. Whichever you choose, warm the tortilla briefly in a dry skillet until soft and slightly toasted. This improves flexibility for rolling and helps the outside take on that desirable crisp when seared.
Cheese serves a practical and culinary purpose. A shred of cheddar or Monterey Jack placed first on the tortilla melts slightly against the warm meat and rice. It acts as glue, stabilizing the filling during the roll. The cheese also contributes a creamy, salty counterpoint to the spice blend.
Heat elements—jalapeños, pickled peppers, or a drizzle of hot sauce—are optional but expected by many. Provide them as add-ons to maintain balance. A little heat intensifies the flavors without masking them.
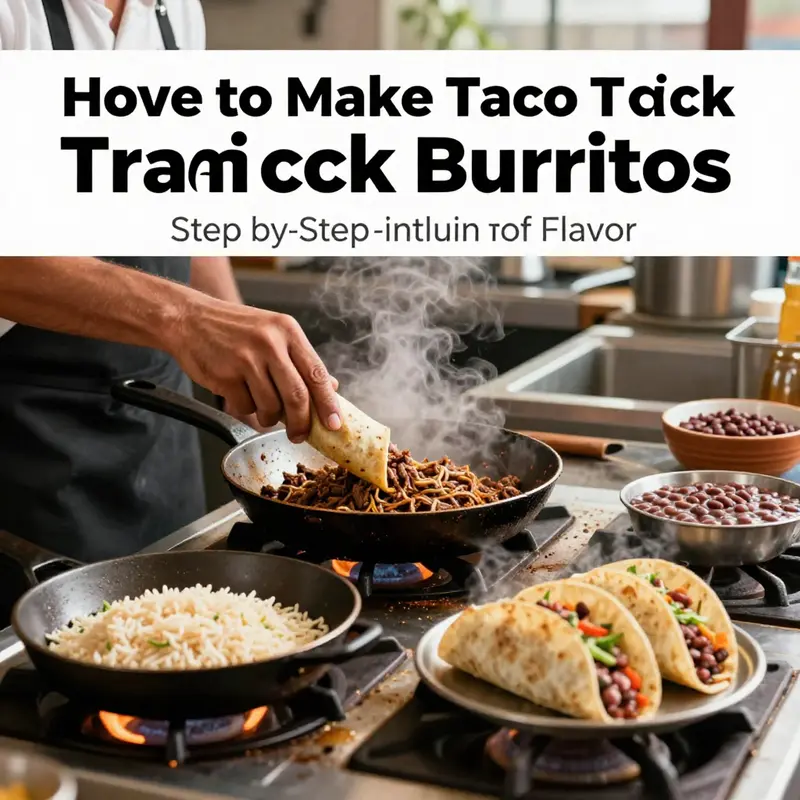
Practical Tips for Prep, Layering, and Assembly
Speed in a taco truck comes from mise en place. Pre-cook proteins and rice, season beans, and have chopped toppings ready. Keep everything hot in shallow pans or covered bowls, and maintain a single assembly order to produce consistent burritos under pressure.
When assembling, warm the tortilla first. Place a thin layer of shredded cheese on the tortilla to form a base. Add rice next, then beans, then meat. This order controls moisture and weight. Cheese toward the bottom helps seal the first fold. Rice and beans in the middle act as stabilizers. Meat near the center ensures each bite has savory depth.
Finish with crunchy and bright toppings—cabbage, onion, cilantro—and a squeeze of lime. Add a small dollop of crema or guacamole. Keep quantities modest: an overfilled burrito is hard to roll and impossible to crisp evenly.
Wrap tightly, tucking the bottom over the filling and folding the sides inward as you roll. For a neat presentation, wrap the burrito in foil right away. If you want that signature taco truck crisp, sear the wrapped burrito seam-side down on a hot griddle. Press gently and cook 3–4 minutes per side until golden. This step creates a caramelized exterior and melts the interior cheese for cohesion.
For freezing, double-wrap in foil and plastic and freeze up to three months. Reheat in a preheated oven at 350°F (180°C) while still wrapped, or unwrap and microwave, removing foil first.
Small adjustments make a big difference. Use fresh lime juice rather than vinegar. Season beans during cooking, not just at the end. Keep chopped toppings cold and crisp, and layer ingredients to manage moisture. These choices create a burrito that tastes assembled by someone who knows how to move fast without sacrificing quality.
If you want more guidance on starting and operating a taco truck, including equipment and practical tips for mobile food service, the Fired Up Taco Truck blog offers useful industry insights and operational ideas that pair well with these cooking techniques: https://fireduptacotruck.com/blog/.
For a tested seasoning formula and exact measurements, consult this external resource for making taco seasoning at home: https://www.foodnetwork.com/recipes/food-network-kitchen/how-to-make-taco-seasoning-at-home-3615298.
This ingredient-driven approach ensures your taco truck burritos deliver consistent flavor, efficient assembly, and the textural contrasts that make each bite memorable. Follow the sensory logic here and you’ll recreate the satisfying, portable experience that keeps customers coming back for more.
Rolling with the Pros: Mastering Taco Truck Burritos
To bring the tempo of a busy taco truck into your kitchen, this chapter blends speed, structure, and flavor into every burrito. The goal is a portable, cohesive wrap that holds together from first bite to last. You’ll learn how the right tortilla, smart layering, and a confident rolling technique create a burrito that travels well, stays warm, and yields a crisp exterior.
Choosing the right tortilla is the first pillar of success. A large flour tortilla, about 10 to 12 inches, labeled soft or hand stretched provides the elasticity needed when you fold and roll without tearing. Warm it quickly in a dry skillet for 15 to 20 seconds, or wrap it in a damp towel and heat for 10 seconds to soften. A light sheen of surface moisture helps the tortilla cling to itself after rolling, reducing the risk of seams opening in transit.
With the tortilla ready, build the fillings with a careful rhythm. Start with a soft base like rice or beans, then add a hot, well-seasoned protein. The cheese comes next as a binding layer that melts with the warmth of the fillings. Add bright toppings in even layers, but avoid soaking sauces or watery ingredients that can weaken the wrapper. If you use sour cream or crema, reserve it for a final drizzle rather than mixing it in.
Roll the burrito by folding the bottom edge up, then bringing the sides in to seal. Roll firmly along the back seam to keep the filling enclosed. The burrito should feel solid in your hands and not collapse when lifted. If it feels loose, press a bit more to tidy the edges and maintain tension.
To finish, wrap tightly in foil or parchment to trap warmth and protect the crust. A quick sear on a hot griddle, seam-side down, can crisp the exterior and reinforce the seal. For storage, refrigerate wrapped burritos for up to a day or freeze for longer keeping. Reheat in a moderate oven still wrapped to preserve texture.
Tightly Rolled and Street-Ready: Expert Assembly Techniques for Taco Truck Burritos
Tightly Rolled and Street-Ready: Expert Assembly Techniques for Taco Truck Burritos
Making a burrito that looks, feels, and performs like one from a busy taco truck comes down to three interlocking skills: choosing the right tortilla, preparing and arranging fillings with intent, and folding with confidence. These elements determine whether the burrito survives a shift, travels well to customers, and delivers a consistent, satisfying mouthful every time. This chapter walks through those skills in a single, continuous narrative so you can build burritos that are efficient to assemble and resilient under real service conditions.
Start with the tortilla. A large, hand-stretched flour tortilla in the 10–12 inch range is the baseline for a taco truck-style burrito. Flour tortillas provide elasticity that prevents cracking when you fold under pressure. Before you ever add a filling, warm the tortilla. Hold it in a dry skillet for 15–20 seconds per side or wrap it in a damp paper towel and microwave for about 10 seconds. Warming makes the tortilla pliable and reduces tearing during rolling. If you need a crisp exterior later, lightly oil the pan and toast both sides briefly; this creates structure without sacrificing flexibility.
Prep your fillings with a focus on texture and moisture control. In a high-volume environment, mise en place—everything in its place—is non-negotiable. Cook proteins until they are flavorful but not soupy. If you use ground beef or shredded chicken, finish it in its seasoning and reduce liquids until the mixture clings rather than pools. Rice and beans are your moisture managers: rice absorbs runoff, and beans add body. Keep both hot in covered containers so they maintain temperature without releasing excess steam.
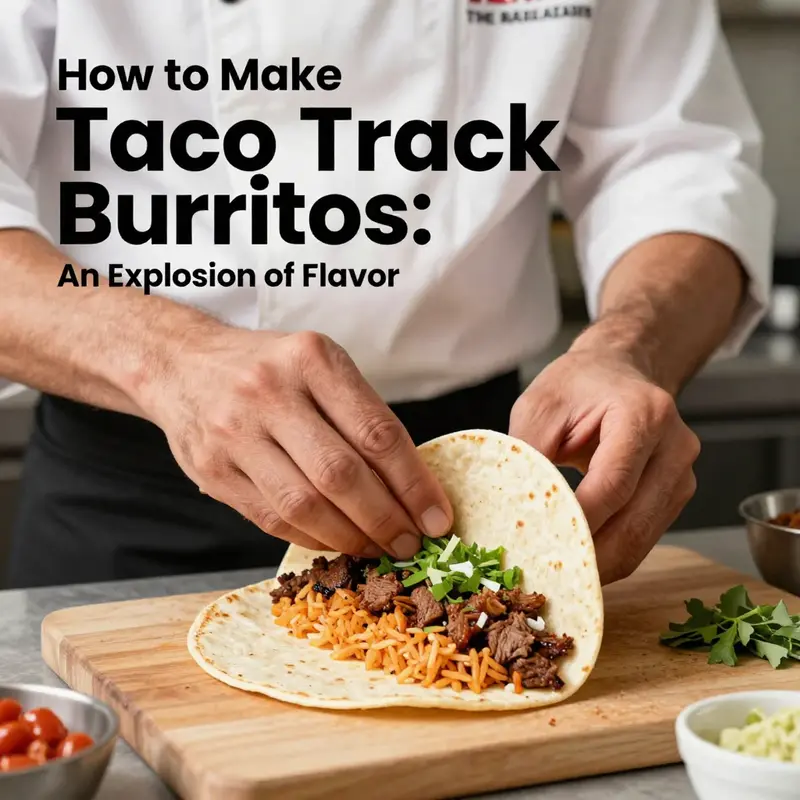
Layering is strategic, not decorative. Lay the warmed tortilla flat and begin with a thin sprinkling of shredded cheese across the center third. Cheese performs double duty: it melts quickly and acts as an adhesive, helping the burrito hold together. Next, add a modest base layer of rice or beans. These starchy layers absorb moisture and provide a stable platform for heavier ingredients. Place your protein directly over that base, centered and spread in a single, even strip from left to right. Avoid piling; aim for a uniform thickness so every bite balances.
Keep wet components minimal and deliberate. Salsa, guacamole, and sour cream are flavor bombs but also potential structural failures. If these must be inside, use controlled portions and position them toward the top of the filling, near the fold, where they are least likely to leak. Alternatively, serve them on the side to preserve the burrito’s integrity. Build in a 2-inch margin around the tortilla edge to allow for proper folding; overfilling causes bulging and splitting.
Folding is where seconds matter and technique shines. Place the fillings horizontally across the middle, no more than two-thirds of the way up from the bottom edge. Fold the bottom edge over the filling in a single, smooth motion, tucking the fold underneath as you go. Bring the left and right sides in next. Do this with a firm, even pressure; the goal is a compact cylinder that won’t shift. Finally, roll forward until the seam faces down. A tight roll reduces air pockets and prevents the burrito from unraveling, but avoid squeezing so hard the tortilla stretches thin and tears.
For a quick quality check, press the sealed burrito lightly. If it bulges or feels loose, open it and adjust the filling distribution. In a service line, a consistent assembly template speeds decisions: measure rice, beans, and protein by scoop size to guarantee uniform results. Train staff to follow the same sequence and portion sizes so turns stay fast and every burrito looks the same.
Finishing touches define the taco truck aesthetic. Wrap the burrito tightly in foil immediately after rolling. Foil traps heat and steam, letting the cheese melt slightly and the tortilla set. When a crispy exterior is desired, sear the wrapped burrito seam-side down on a hot griddle for 3–4 minutes per side. The foil prevents direct burning while giving you a golden, crunchy texture on the outside. This step replicates the toasted finish customers expect and helps the burrito survive transport.
Adaptations for special diets or speed must preserve structure. For vegetarian burritos, boost the rice-bean ratio and add firm vegetables like roasted corn or sautéed peppers to maintain body. For lower-carb versions, substitute cauliflower rice but increase binder elements, such as a small amount of melted cheese or a smear of thick crema, to prevent slippage. In high-volume operations, semi-automatic assembly tools and electric taco machines can standardize heat and speed, ensuring uniform quality across hundreds of orders.
Small details keep service efficient. Keep a damp towel nearby for wiping hands and counters. Pre-portion cheese into small cups for quick sprinkling. Use scoops of set volume for rice, beans, and protein to maintain consistency. Label warming containers with times to keep food safe and predictable. Train staff to work in a steady rhythm: warm tortilla, cheese, base, protein, finishings, fold, foil, sear. Repetition breeds speed without sacrificing quality.
Troubleshooting remains practical. If tortillas crack frequently, check storage; tortillas dry out quickly and need airtight packaging. If burritos leak, reduce wet fillings and ensure the base layer of rice or beans covers the center fully. If rolls are inconsistent, introduce visual templates on the prep table—marks indicating where to place the filling—to guide staff. These small process controls prevent waste and keep service moving.
Finally, remember that a successful taco truck burrito performs on the plate and on the go. The assembly process aims to deliver controlled moisture, balanced texture, and a tight roll that resists the rigors of service. As you refine technique, focus on repeatability: the same tortilla warming, the same scoop sizes, the same fold. When each step becomes a habit, speed grows and quality holds.
For operators exploring equipment and layout options to scale this assembly approach, see the guide on choosing the right food truck for practical considerations and setup tips: choosing the right food truck.
External reference: For deeper insight into taco cart equipment and professional practices that inform these assembly methods, consult the Taco Cart Complete Guide: https://www.foodtrucktech.com/taco-cart-guide
Serve, Store, and Scale: Practical Tips for Taco Truck-Style Burritos
Making taco truck-style burritos at home or for a small event is equal parts cooking and logistics. Once you master the filling, heating, and rolling, the next challenge is keeping each burrito as close to that fresh, just-griddled experience as possible while serving a crowd. This chapter walks through practical serving techniques, safe storage habits, and transport strategies used in mobile vending so your burritos stay flavorful, safe, and visually appealing from prep table to first bite.
Start with the set-up. Whether you’re serving at a backyard party or packing orders for delivery, an organized station matters. Lay out a clean prep surface with warmed tortillas at the ready, containers of rice, beans, proteins, and toppings within arm’s reach, and a single line for assembly. Use shallow trays or pans with lids to keep hot items at a consistent temperature and to limit direct exposure to air. When you’re moving from kitchen to service, stackable insulated food carriers are invaluable: they preserve heat without continuing to cook, so rice remains fluffy and meat stays moist without drying out.
Presentation plays a surprisingly large role in customer satisfaction. A tight, neatly wrapped burrito communicates care and makes eating easier. Encourage a final foil wrap for every burrito: the foil helps maintain shape, keeps heat in, and protects tortillas during transport. For immediate dine-in service, a short seam-side sear on a hot griddle creates that signature golden crust and seals the foil edge. If you expect to hold burritos for a brief window—say, at a catered event—place wrapped burritos on a warm tray or in an insulated carrier set to a safe holding temperature. Remember: holding food too long even at warm temperatures affects texture and can lead to moisture migration that turns a crispy exterior limp.
Timing is everything when serving multiple people. The taco truck model succeeds because components are prepped in advance and assembly happens to order. Cook and season proteins, and cool them slightly before placing in shallow hotel pans; keep lids on to retain heat. Rice and beans should be cooked and kept covered; add a little extra moisture to rice if it will sit, then fluff before assembly. Chop salsas and fresh toppings the day of service and store them chilled. A simple rule: prepare hot components to be kept hot, cold components to be kept cold, and assemble at the last responsible moment. This approach minimizes sogginess and maximizes contrast between warm fillings and bright fresh garnishes.
Food safety cannot be sacrificed for speed. Perishable fillings—meat, crema, cheese, and cooked rice—must be held at safe temperatures. Hot items need to be kept at 135°F (57°C) or above, and cold items at 41°F (5°C) or below. If your event lacks power or proper holding equipment, plan to assemble on-site and avoid long periods of room-temperature holding; bacterial growth can accelerate quickly in the temperature danger zone. When transporting, refrigerate filled burritos if they won’t be served within two hours (or one hour above 90°F/32°C). For longer holds, keep fillings chilled and assemble on arrival. This strategy preserves both food safety and texture.
When you must transport finished burritos, use insulating solutions that don’t over-cook. Thermal backpacks and insulated boxes work well for short runs, retaining warmth without creating steam that soggifies tortillas. For longer travel, set hot items in insulated carriers and replenish with a quick pan-sear before serving to revive crispness. Avoid freezing tortillas once they have been wrapped around fillings if your goal is to preserve texture; frozen burritos tend to suffer from freezer burn and a chewier tortilla after thawing. If freezing is necessary for meal prep, freeze fillings and tortillas separately and assemble after reheating for best results.
Holding strategies during service should balance speed and quality. If you expect a rush, pre-wrap a limited number of burritos and rotate them onto the hot griddle for a quick re-sear as orders are called. This mimics taco truck operations where cooked items are staged briefly and finished to order. Use foil to protect the seam and reduce moisture exchange during short holds. For long queues, offer customers a numbered ticket system and communicate realistic wait times; a freshly finished burrito is worth the brief delay.
For plated service or catered events where presentation matters, organize a compact serving line. Use taco holders or compact racks to keep wrapped burritos upright and tidy on the tray. These holders prevent rolling and make portion control obvious to servers. Keep garnishes in small bowls with spoons so diners can customize after unwrapping. A folded napkin and a small cup of salsa or crema for dipping elevates perceived value and helps control mess.
Leftovers and storage at the end of service follow clear rules. Cool any uneaten perishable burritos quickly: unwrap, separate layers if needed, and refrigerate within two hours. Stored in airtight containers, refrigerated burritos will keep 3–4 days, but textures change; tortillas may soften as moisture redistributes. To reheat without losing too much crunch, remove foil, cover loosely with a damp paper towel, and microwave briefly to warm the center, then finish on a hot, lightly oiled skillet to re-crisp the exterior. When reheating foil-wrapped burritos in an oven, keep them covered to minimize drying, and maintain moderate heat so fillings warm evenly.
If you regularly serve burritos outside the home—markets, pop-ups, or small festivals—consider the long-term benefits of investing in mobile-friendly equipment and logistics knowledge. Choosing the right vehicle or cart affects how well you maintain holding temperatures, how much storage you have, and how efficient service will be; readers planning a mobile operation may find the guide on Choosing the Right Food Truck helpful for planning equipment and layout that support safe serving and storage practices.
Small operational habits go a long way. Label food containers with cook and discard times and rotate stock using first-in, first-out principles. Train helpers on assembly technique so every burrito is wrapped with consistent filling ratios. Keep a few spare tortillas warmed and a small pan for emergency re-sears. Finally, communicate clearly with guests about heat levels and ingredients; simple signage about allergens and spice levels reduces confusion and speeds service.
By combining thoughtful presentation, rigorous temperature control, and last-minute assembly, you preserve the flavors and textures that make taco truck burritos so addictive. These practices keep food safe, boost customer satisfaction, and let you scale service without sacrificing the crispy, balanced burrito experience every time.
For further reading on mobile vending equipment and cart specifications, consult the taco cart guide linked here: https://www.foodtrucktech.com/taco-cart-guide
Crisp and Compact: Mastering Taco Truck Burritos for Bold Flavor and a Restaurant-Quality Crunch
A taco truck operates on a precise duet of speed and restraint. The window opens, orders stream in, and the cook moves with a steady rhythm that makes every burrito feel like a quick, friendly handshake. This chapter sets a compact, repeatable method for a burrito that travels well, tastes street-smart, and carries a crisp edge from first bite to last.
Filling first: choose a sturdy protein (lean ground beef or shredded chicken) or a plant-based alternative. In a hot skillet, break the meat into small pieces and cook until browned and just glossy. Season boldly with a simple taco blend built from cumin, chili powder, garlic powder, onion powder, and salt. Add a splash of water to loosen the spices and create a glossy cohesion that clings to grains of rice and the folds of the tortilla. Let the mixture simmer until thickened and cohesive.
Accompaniments provide texture and balance. Cooked rice forms a soft cushion; beans add body; tomatoes add brightness; onions provide crunch; cilantro and a squeeze of lime lift the whole assembly. A dollop of crema or sour cream ties richness to heat without drowning the filling.
The tortilla must be warm but not collapsed. In a dry skillet over medium heat, warm 15 to 20 seconds per side until pliable and lightly toasted. If desired, a light brush of oil on the pan adds a subtle crisp finish that echoes street-side sears.
Assembly uses cheese as glue. Lay a thin layer of shredded cheese on the tortilla, then the meat, then rice and beans, followed by tomatoes, onions, cilantro, and a final kiss of lime. Avoid overfilling; aim for a balanced, manageable roll.
Rolling and finishing. Fold the bottom edge up, tuck in the sides, and roll tightly to form a compact package. Wrap in foil to trap heat and preserve crunch. A quick finish on a hot griddle, seam-side down, for 2-4 minutes per side deepens color and crackle.
Service and storage. Keep finished burritos wrapped in foil for service; in higher-volume settings, hold in a foil-lined container to maintain warmth. Serve immediately with guacamole or avocado mash, a bright salsa, and lime wedges.
Variations and scalability. Vegetarian fillings can mirror the same structure with grilled vegetables, plant-based proteins, and a dairy-free crema. The formula—cheese as glue, firm filling, starch, beans, vegetables, bright finish—travels across kitchens. For home cooks, adapt the timing and heat to your stove while preserving the clear order of steps and the confident roll.
Final thoughts
Exquisite taco truck burritos are not just a meal; they are an experience meant to be enjoyed and cherished. By mastering the essential ingredients, assembly techniques, and serving methods outlined in this guide, you’re setting yourself up for delicious success. Remember, the journey from your kitchen to the streets is filled with possibilities, allowing you to tailor each burrito to your unique taste. Embark on this flavorful adventure, and soon you’ll be craving your creations as fervently as those late-night taco runs. Celebrate every bite and share this culinary joy with friends and family—taco truck culture is all about community and flavor!